This post provides everything you need to ensure Advanced Auditing is fully configured and auditing everything we possibly can for both existing and new users. I recently shared guidance for this via social media (see below), and it felt like a perfect time to revisit my previous posts and combine everything into one comprehensive guide :)
You likely aren't collecting all available events to the Unified Audit Log
— Nathan McNulty (@NathanMcNulty) January 20, 2025
First, not all events are enabled or retained optimally. Consider creating this policy in the Purview portal (leave users and record types blank to collect everything).
Retention is based on license... pic.twitter.com/IEKKfrkpI8
The problem with Advanced Auditing
Unfortunately, the default configuration for Advanced Auditing is not ideal. Not all events enabled out of the box, and there is no built-in mechanism to apply better settings by default… This means we have to create policies and also implement automation to ensure all audit records are being generated for our users 😒
Thanks to CISA, all licenses now preserve audit records for at least 180 days (often much longer via Search-UnifiedAuditLog). They also added 30 records that were previously only included in Premium licenses, most notably MailItemsAccessed and SearchQueryInitiated.
Audit Premium includes policies to retain records for 1 year with an optional add-on to retain up to 10 years, and it also has 19 new records mostly around Purview and application access. For more details about all of these changes and records, see this announcement.
Audit Retention Policies
The first thing we want to do is ensure we are retaining audit records for as long as our license allows, and thankfully, this is one of the rare times Microsoft automatically handles license levels for us. As seen below, we can apply a retention policy to all users, and those without the license will simply retain for 180 days.
With that in mind, we will need to either go to the Purview portal and configure an audit retention policy, or we will have to create one via Exchange Online PowerShell. For configuring in the Purview portal, simply go under Audit - Policies, and create an audit retention policy like this:

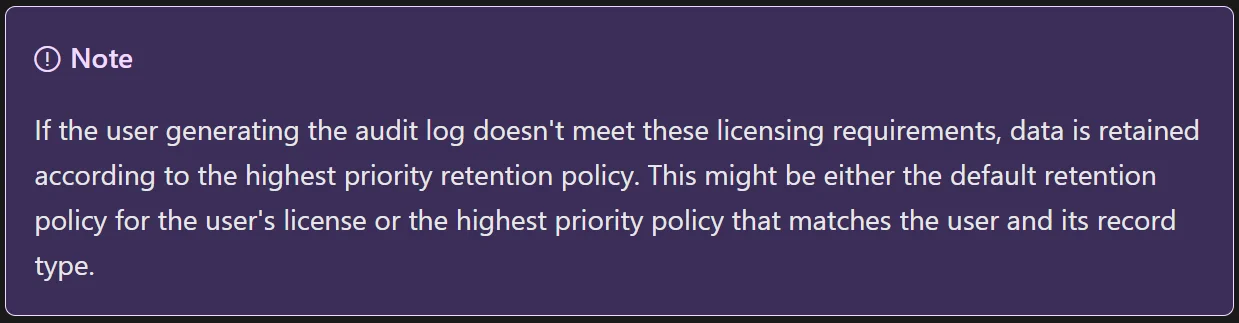
Note
We can now leave Record Type blank which will include all record types!
Alternatively, if you have the Exchange Online PowerShell modules installed, you can do it like this:
1# Connect to Exchange Online
2Connect-ExchangeOnline
3
4# Connect to Security & Compliance PowerShell PowerShell
5Connect-IPPSSession
6
7# Create a new policy to retain all records for 1 year
8New-UnifiedAuditLogRetentionPolicy -Name "All Records - 1 Year" -RetentionDuration "TwelveMonths" -Priority 10
Verify auditing is enabled
Auditing should be enabled by default for most tenants, but some very old tenants may not be while others may have purposefully disabled it. It is vital that we double check this:
1# Connect to Exchange Online
2Connect-ExchangeOnline
3
4# Get current configuration
5Get-AdminAuditLogConfig | Format-List UnifiedAuditLogIngestionEnabled
6
7# If disabled, run this to enable globally
8Set-AdminAuditLogConfig -UnifiedAuditLogIngestionEnabled $true
Beware of mailbox auditing bypasses
Because mailbox auditing can generate a large volume of data, Microsoft provides the ability to bypass auditing for specific accounts (such as a service account, backup, etc.). It is important to verify accounts that can bypass auditing and also monitor for changes to this.
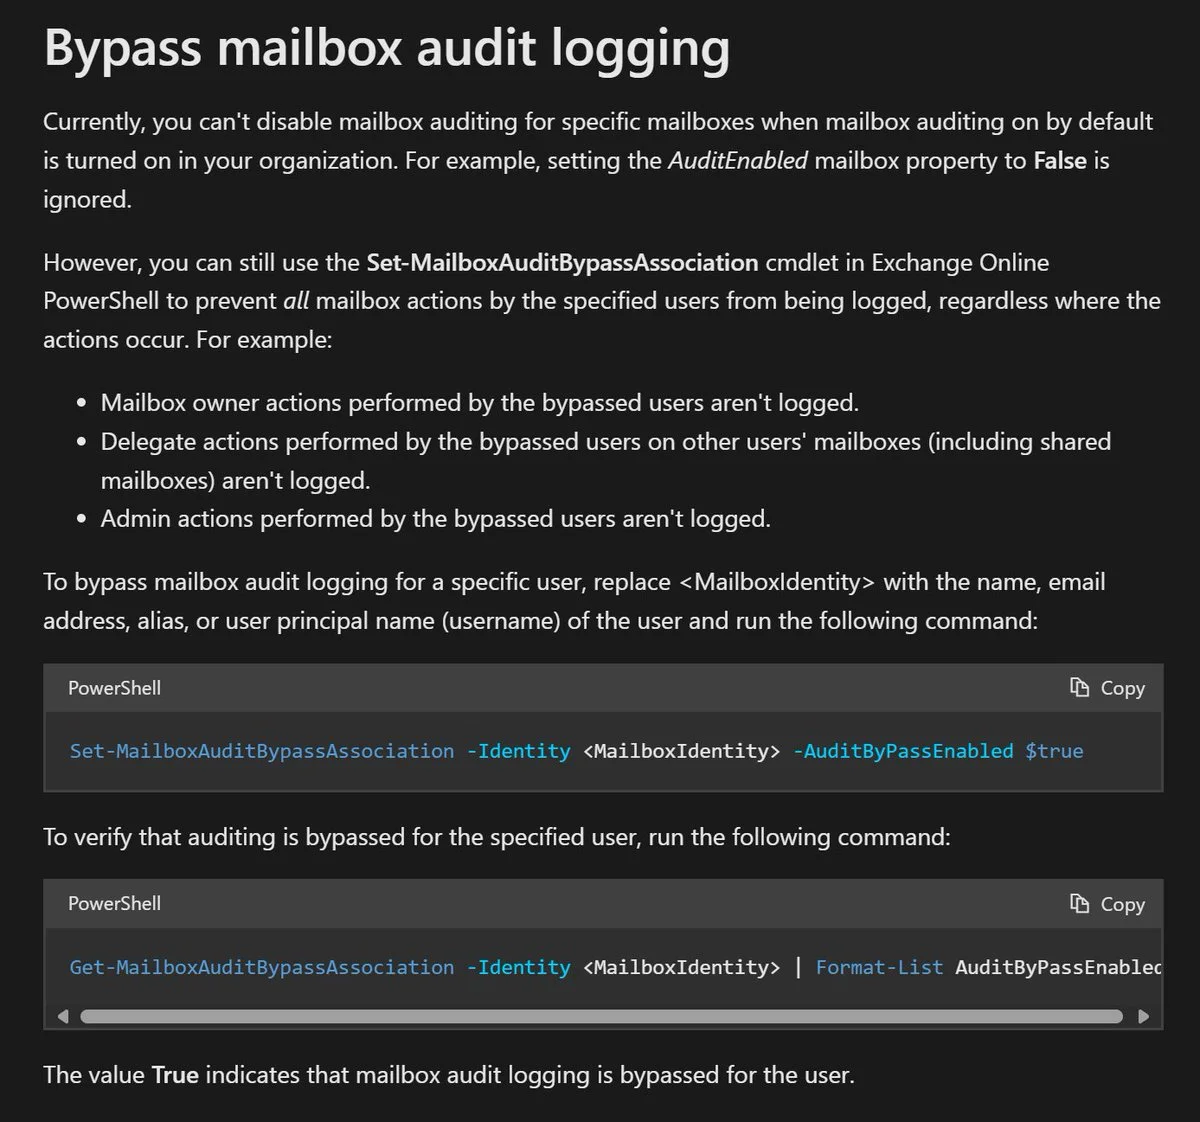
To check for existing bypass configurations, you can run the following commands:
1Connect-ExchangeOnline
2Get-MailboxAuditBypassAssociation -ResultSize Unlimited | Where-Object { $_.AuditBypassEnabled -eq $true }
And if you would like to monitor for these changes, you can use this custom detection to create an alert:
1CloudAppEvents
2| where ActionType == @"Set-MailboxAuditBypassAssociation"
Automating Mailbox Auditing
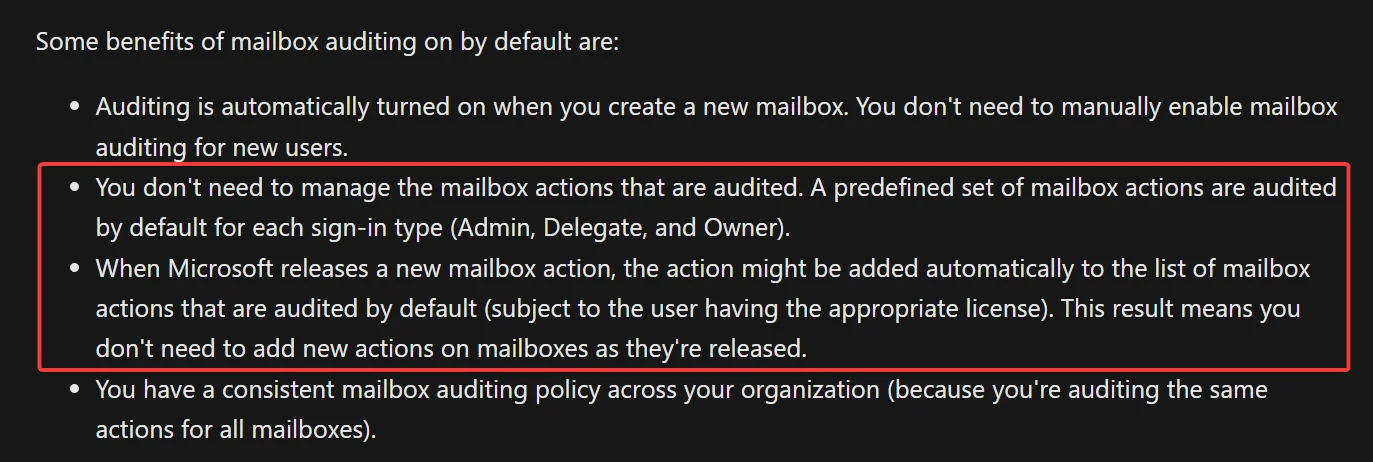
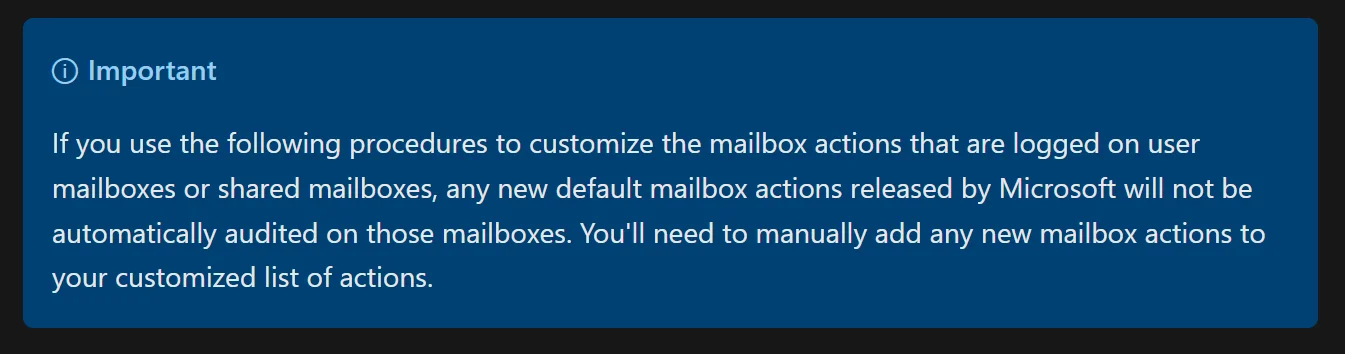
As mentioned earlier, not all record types are generated by default. The docs claim that we don’t need to manage the mailbox actions that are audited:
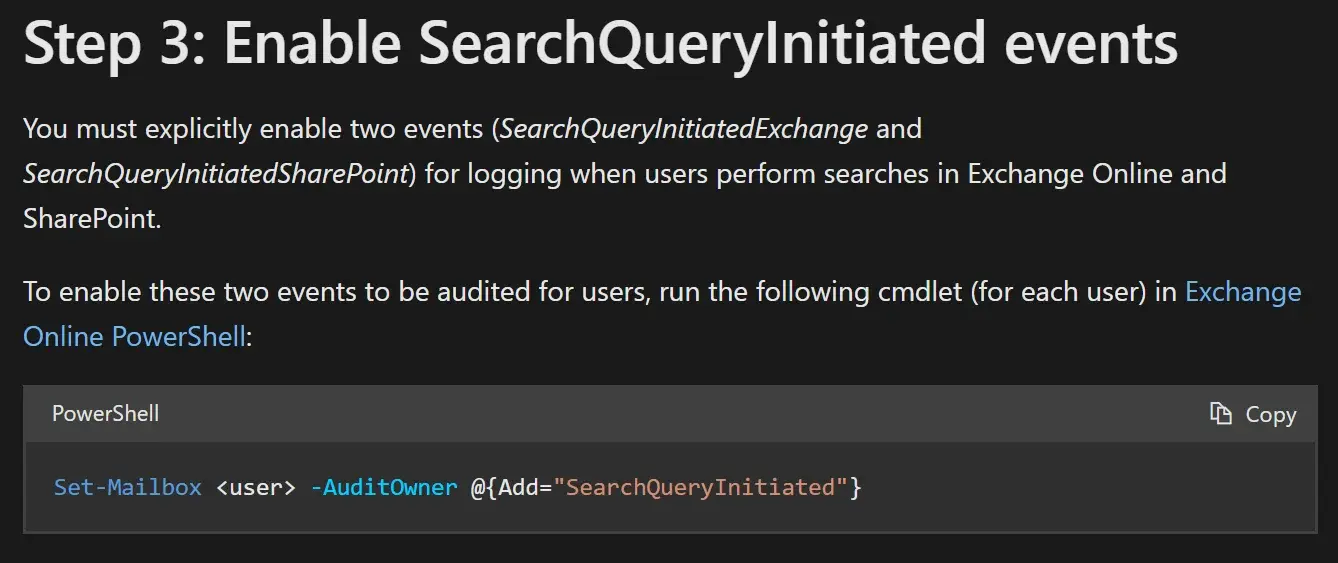
But this is clearly a lie since the docs also tell us we have to explicitly enable SearchQueryInitated events:
There are also undocumented record types that are not in the default set as well… On the left we can see all record types compared to the default set on the right:
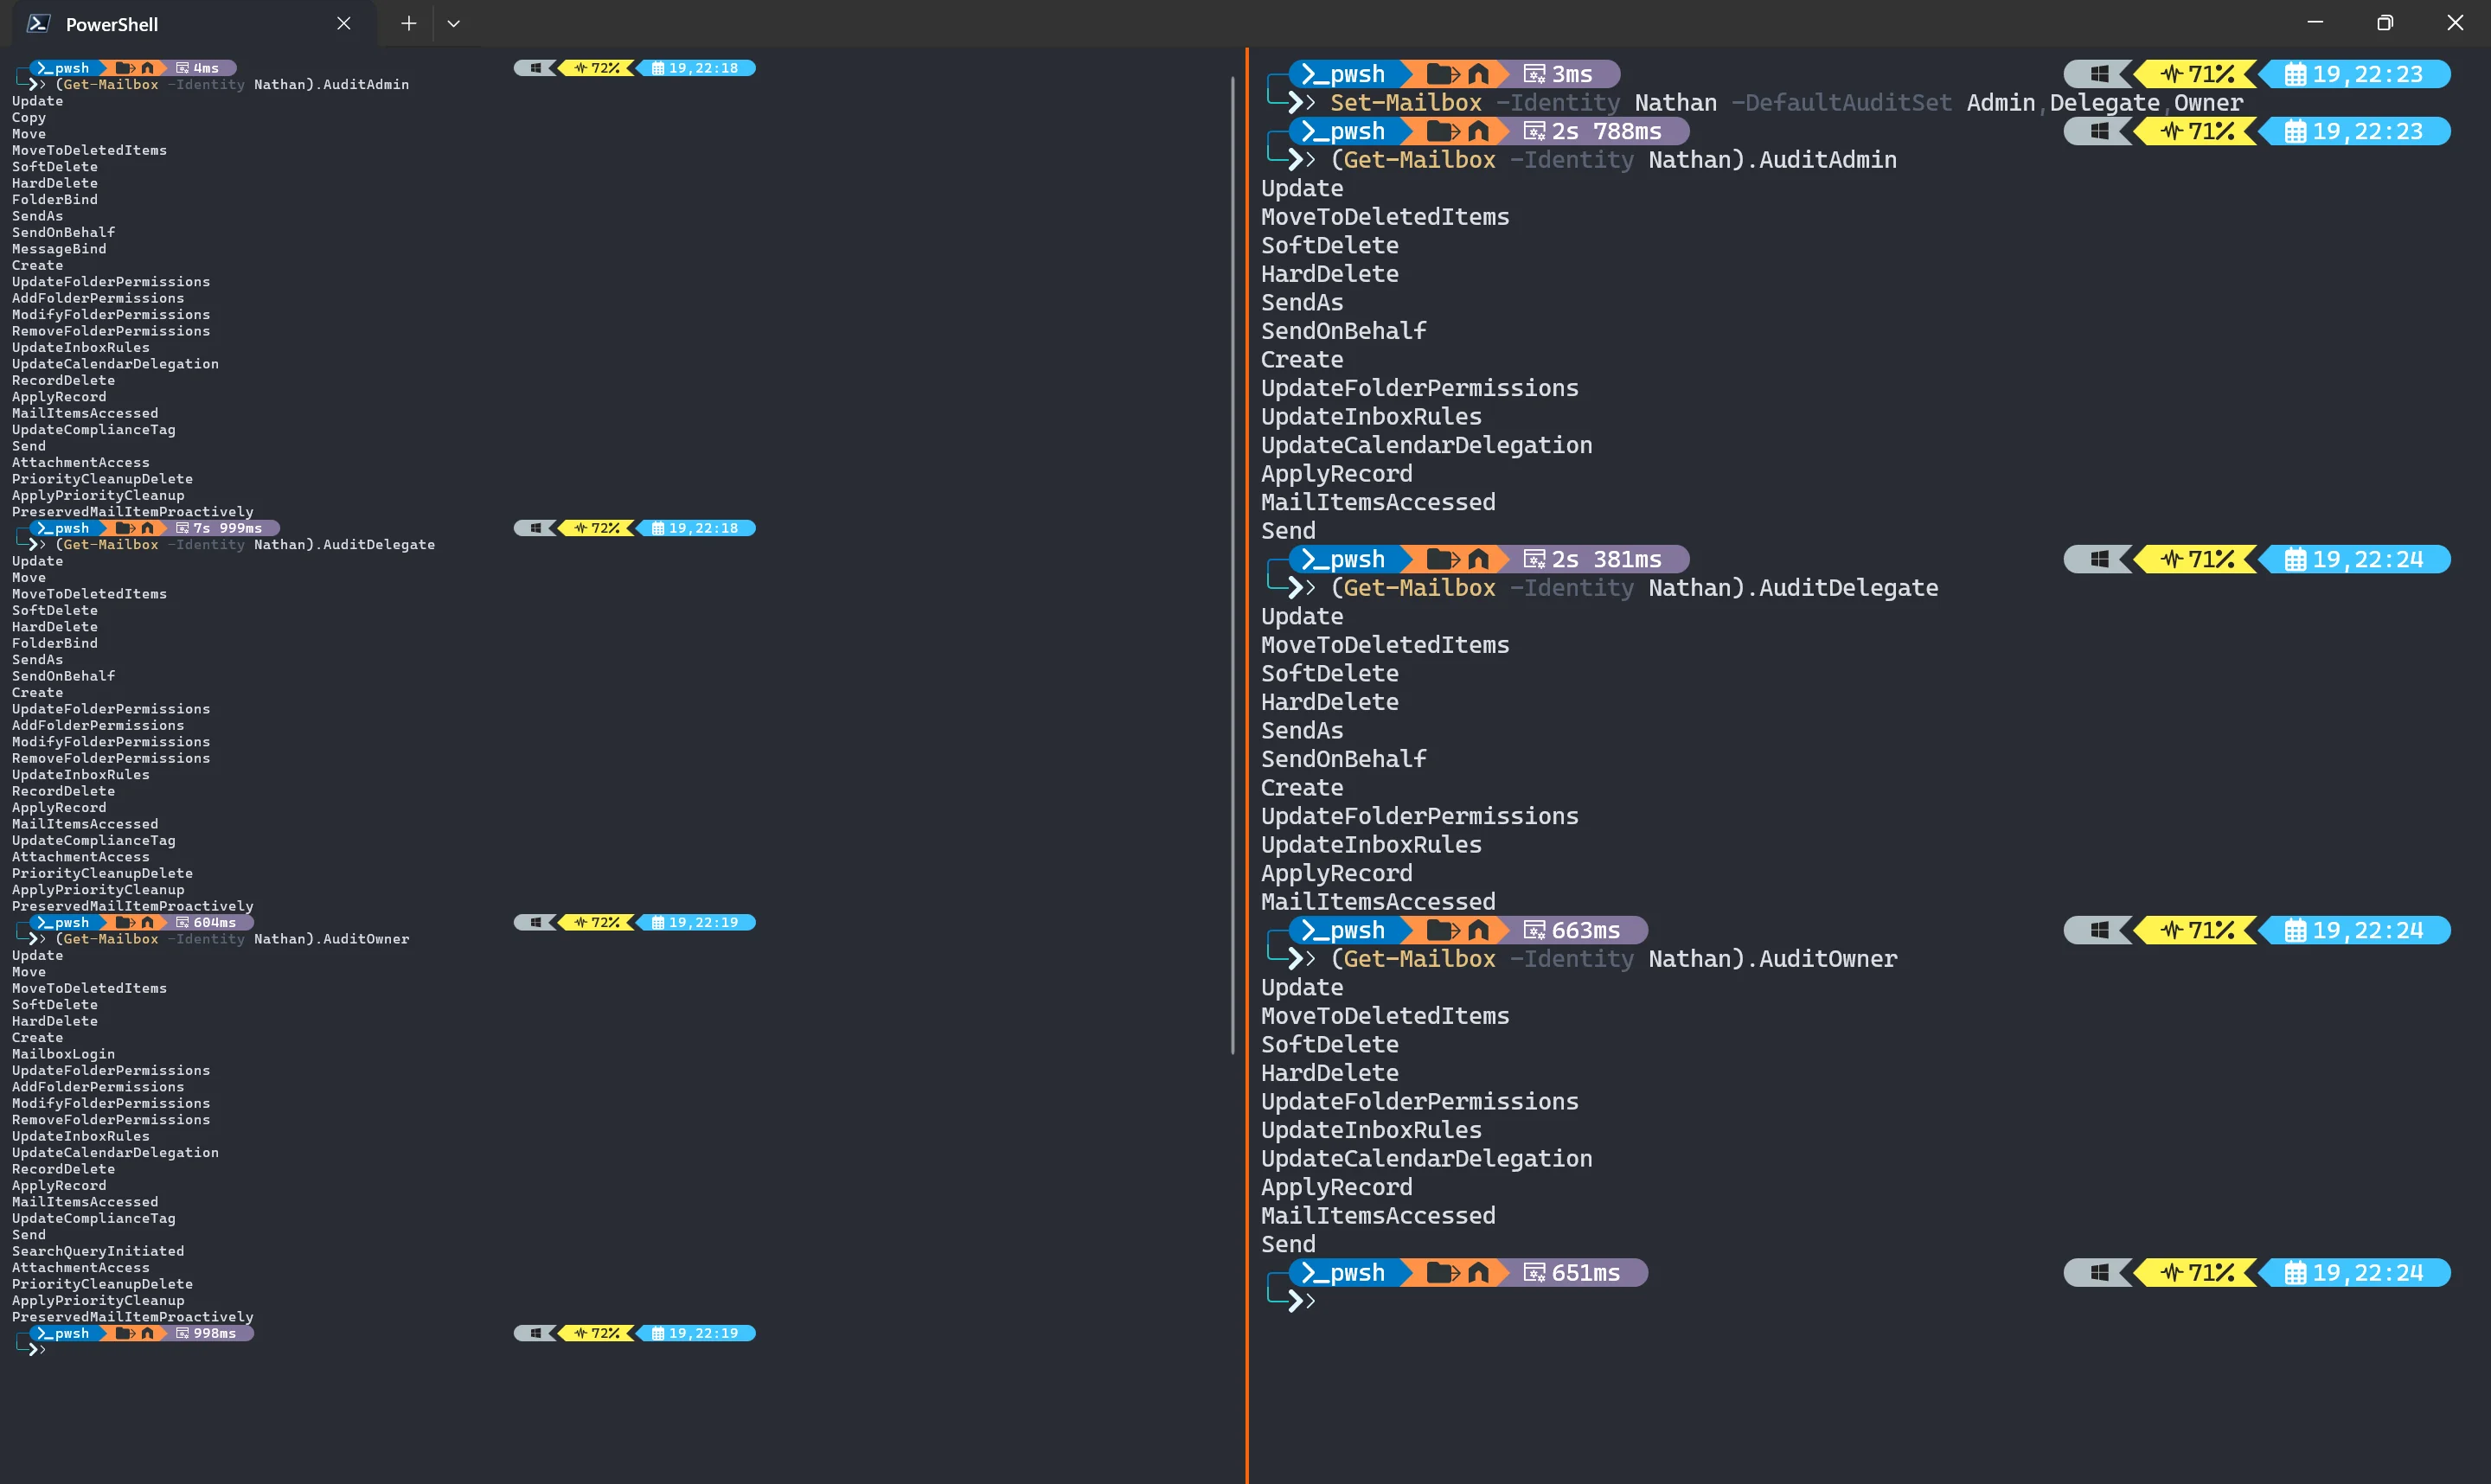
This means we need to automate changing audit records for all users, and once we make this change, we are on the hook for adding any new record types to our automation because Microsoft won’t add them automatically unless we use the default set… :-/
I have maintained this script to enable all audit records for several years, and while you could run this from a scheduled task on a server or something, the rest of the post will walk you through using Azure Automation which comes with 500 free minutes per month (more than enough for this).
Create an Azure Automation Account
The first thing we need to do is create an Automation account in Azure, and I’ve provided a video below showing how to set this up. By default, System Assigned Managed Identity should be selected, but if you are using an existing Automation account, you may need to go enable this (see the very end of the video). Remember that Resource Groups are intended for IAM and lifecycle management, so design accordingly.
Once the Automation account is created, we need to create a new Runtime Environment that includes the ExchangeOnlineManagement module (and remove the Azure ones for faster runtimes). If you don’t see Runtime Environments, you may need to change to the new experience under Overview.
Finally, we add our Runbook (PowerShell script), and I’ve published this to the Azure Automation gallery to make this easier. Just select the option to Import from gallery, then search for my name :)
If you would prefer to fork and modify (or copy) the code and set it up manually, you can do that here:
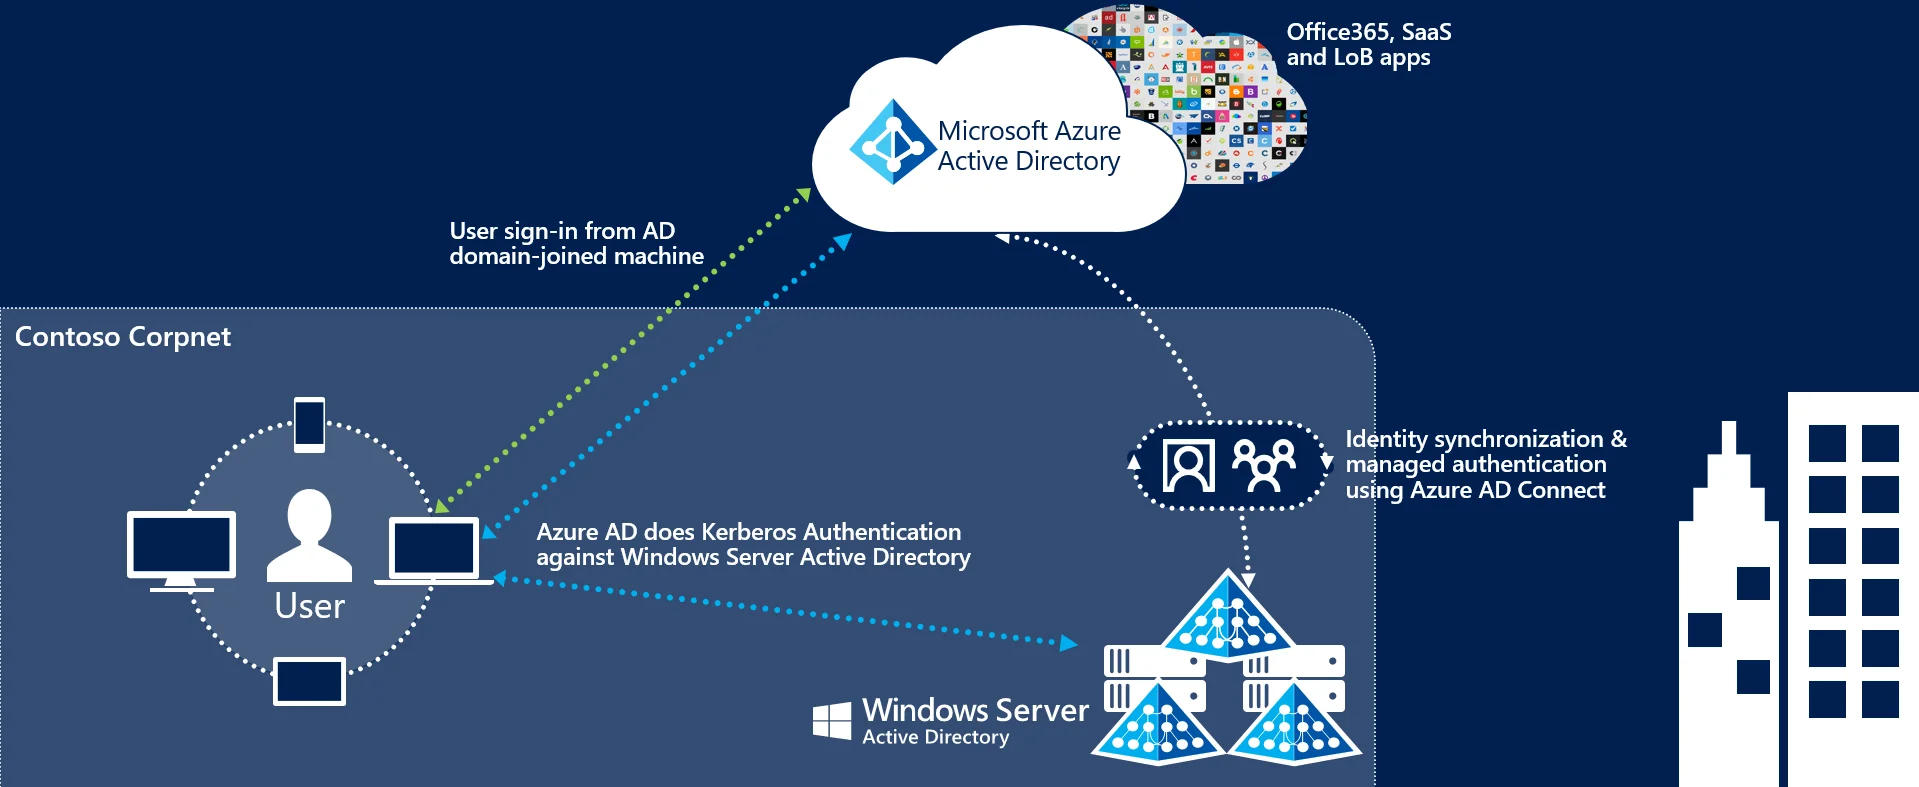
Automation Account Permissions in Exchange Online
Since these audit records are based on auditing values applied to the mailbox in Exchange Online, we need to grant permissions in Exchange for the Managed Identity of our Automation account. This requires several steps because Microsoft does not provide a way to assign non-Azure based API permissions to Managed Identities via a GUI, and Exchange Online is still based on AD LDS meaning we need a Service Principal in the Exchange forest that is linked back to the Service Principal of our Managed Identity in Entra.
Grant ExchangeManageAsApp to the Automation Account
If you don’t already have the Graph PowerShell and ExchangeOnlineManagement modules installed, we will need to do that first.
1# Install for current user only
2Install-Module Microsoft.Graph -Scope CurrentUser
3Install-Module ExchangeOnlineManagement -Scope CurrentUser
4
5# Install for all users, helpful with OneDrive Known Folder Move
6Install-Module Microsoft.Graph -Scope AllUsers
7Install-Module ExchangeOnlineManagement -Scope AllUsers
Once installed, we will connect with the necessary scopes to set everything up. While you only need Application Administrator to grant Exchange permissions to an application, you will need Global Administrator to consent to the scope for Graph PowerShell if that has not been done previously.
1# Connect to MS Graph and Exchange Online
2Connect-MgGraph -Scopes AppRoleAssignment.ReadWrite.All,Application.Read.All
3Connect-ExchangeOnline
Next, copy the Managed Identity Object (principal) Id from Azure in the Automation account under Account Settings - Identity, then use it as the $MI_ID variable in the commands below. This will be used to assign the Entra Service Princpal the ExchangeManageAsApp API permission and create the linked Service Principal in Exchange.
1$MI_ID = "<Managed Identity Object ID from Azure Automation>"
2
3# Grant API permissions to the Managed Identity to act against Exchange
4$ResourceID = (Get-MgServicePrincipal -Filter "AppId eq '00000002-0000-0ff1-ce00-000000000000'").Id
5New-MgServicePrincipalAppRoleAssignment -ServicePrincipalId $MI_ID -PrincipalId $MI_ID -AppRoleId "dc50a0fb-09a3-484d-be87-e023b12c6440" -ResourceId $ResourceID
6
7# Create linked Service Principal
8$AppId = (Get-MgServicePrincipal -ServicePrincipalId $MI_ID).AppId
9New-ServicePrincipal -AppId $AppId -ObjectId $MI_ID -DisplayName "exchange-auditing-automation"
Finally, we need to grant the linked Service Principal the necessary permissions in Exchange. This process involves creating a Management Role based on the Audit Logs role, removing all unnecessary permissions, limiting the Set-Mailbox parameters allowed, adding the Management Role to a Role Group, and then assigning the linked Service Principal to the Role Group.
 1# Create new Management role
 2New-ManagementRole -Name "Mailbox Auditing" -Parent "Audit Logs" -Verbose
 3
 4# Remove unnecessary permissions
 5Get-ManagementRoleEntry "Mailbox Auditing\*" | Where-Object { $_.Name -notin "Get-Mailbox" } | ForEach-Object { Remove-ManagementRoleEntry -Identity "Mailbox Auditing\$($_.Name)" -Verbose -Confirm:$false }
 6
 7# Add limited Set-Mailbox permissions
 8Add-ManagementRoleEntry -Identity "Mailbox Auditing\Set-Mailbox" -Parameters "Identity","AuditAdmin","AuditDelegate","AuditOwner","AuditEnabled","AuditLogAgeLimit"
 9
10# Create a Role Group, add our custom Mailbox Auditing role, and add our Service Principal as a member
11New-RoleGroup "Advanced Auditing Management" -Description "Limited scope for Azure Automation to set Advanced Auditing entries" -Roles "Mailbox Auditing" -Members $MI_ID -Confirm:$false -Verbose
Note
It may take a while for all of the permissions to replicate, so if you have errors during testing, you may need to wait an hour and try again.
Test and Schedule Automation Jobs
Now that our Automation Account has the necessary permissions, we can test our Runbook, verify it works, and then create a schedule. To test, go to the Automation account, open the Runbook, edit in the portal, then use the Test pane.
Warning
Running a test still performs all actions in the script. Please use -WhatIf or Write-Output if you do not want to perform the actions.
If successful, all we need to do is set up a schedule to run this as frequently as you want. Since this will generate audit logs that might increase ingestion costs for SIEMs (and Azure Automation only includes 500 minutes for free each month), once a day is probably reasonable.
And that’s it! Your script should now run on whatever schedule you chose, and users will now be properly enabled for all auditable events :)
Final note: It is important to keep track of auditable events, and I will do my best to announce new ones when they are added (very rare). For a full list of auditable events, take a look at the docs: Manage mailbox auditing